Monday, 27 January 2020

The Great Swedish Invasion II: The Battle Of Swanland

Nearly four years may have passed, but to our historical participants in The Great Swedish Invasion of England it has been but a few days.  And as the autumn of 1643 winds its way into winter the Swedes must take stock of their failures.  Their unexpected defeat and rough handling by the forces of the English at the Battle of Little Pontefract has knocked their myth of invincibility, and shaken their tree of certainty.  The dose of a combination of Charles, Rupert, Cromwell and Fairfax was too hard a pill to swallow and they have choked.  Even worse they have discovered that their 100 year lease on that sheep farm in Cumbria is a forgery.  The situation is dire.

Breaking into several large columns and falling back upon their supply lines they begin the relatively short march towards the coast and the great university city of Hull.  There they expect to meet their fleet laden with enough household goods to enable to regroup and really settle down and make their home in Yorkshire while they plot their next diabolical move.  However, Hull, apart from its great university, is also known for its high city walls and its armoury, and the governor of the city proves a hard man to bargain with despite the bulk of the Swedish army being now camped outside.  Indeed, while the Swedish envoys are still negotiating the price of the cities surrender news comes of the English army.  Charles has given way to Rupert and Cromwell’s demands to press their advantage, and they are on the move and closing in.

There is no time for further negotiation.  The Swedes require the port, the rum, and the docks at Hull, and the ammunition in the armoury wouldn’t go amiss either.  There isn’t time to make a run further up the coast, and the English now outnumber them.  The ordinance opens up on the walls of Hull, and the storming parties ready their ladders, but the English are closer than they imagined, and on the edges of their main camp at the fabulously named village of Swanland the muskets are already sounding as they find themselves fighting on two fronts….

For those needing a background to such events, it can be found here:


The Scenario

The Dastardly Swedish:
General Ian ‘Sven’ Nilsson
Lord Of Horse Chris ‘I’ve Brought A Horse’ Johansson
General Paul ‘The Bringer of Many Men’ Karlsson
Stormer of Castles Earl Michael ‘Gustavus Adolphus’ Olsson

The defeat at Little Pontefract used up much of the Swedes ammunition and supplies.  They need to capture a port for their ships to bring much needed supplies from the continent and to provide shelter from the harsh English winter.  They also need to secure the surrounding villages and fortify them to give their troops a base while they rebuild their strength ready to retake the offensive in the Spring of 1644.  Gaining the ammunition stores of the arsenal of Hull would also go some way to making good their consumption so far!  Life would be so much easier if all the columns of troops had managed to make it to Hull, but they must fend off the stronger English with what they have….

Both battlefields, from the West looking across Windmill Hill towards Wesselton in the centre, then to Swanland by the river at the far end.  The city of Hull is on the next table hidden to the left at the back of the room.


Wesselton and the Swedes of General Paul.


Swanland and the Swedes of Lord Nilsson.

The Brave, Heroic, Salt of the Earth English:
Lord Aidan ‘Wheres The Tea?’ Stanley-Matthews
Earl Neville Chamberlain – known as Ben to his friends
Laid Mcflurry – also known as Ben
City Governor Rick ‘Save me!’
General of Dragoons Red ‘The Ghost’

The cowardly foreign invaders are fleeing to the sea!  Now is the time to press the advantage and destroy the Swedish field army before they can regroup.  They must not be allowed to rest and fortify the surrounding countryside, or claim the city of Hull, with which they could prolong this dreadful war, distracting from the more important questions such as the colour scheme of the new pray book.  The English are stronger, and the main aim must be the destruction of the Swedish army, but to do so they will need to deny them the city of Hull, and any opportunity to regroup.

The Swedish centre.

First glimpse of the walls of Hull.

The Battle

And so the story begins, although it will be a shorter story than many I have publicised previously because when all is said and done my free time is not what it was.  So to open the ball 8 men and a boy unwittingly named after a British Prime Minister took to the battlefields around the city of Hull to do, um, battle.  The main conflict took place upon a field measuring 6ft by 16ft, with the Swedish garrisoning the two villages of Swanland (by the river) and Wesselton further inland.  Further Swedish forces laid siege to that great university city of Hull on a 6ft by 4ft board, hoping to capture its walls, and the arsenal within, a matter of some urgency because unlike their English counterparts the Swedes had limited powder.  Troops could be moved between the boards, but on this occasion didn’t.


Swanland by the river.

All the Swedish commmanders on their left were caught short in the tavern in  Swanland when the battle begins.


The Opening Moves

On the English left the ghost division began what would be a long march towards Windmill Hill, with elements also trading long ranged fire with the numerous Swedes in Wesselton.  No such manoeuvring niceties from Lord Stanley-Matthews, as his battalia advanced directly upon Wesselton, pike and musketeers clashing in the outskirts.  General Paul of the Many Men held the Swedish right flank, and his troops gave fire and fought bravely.  
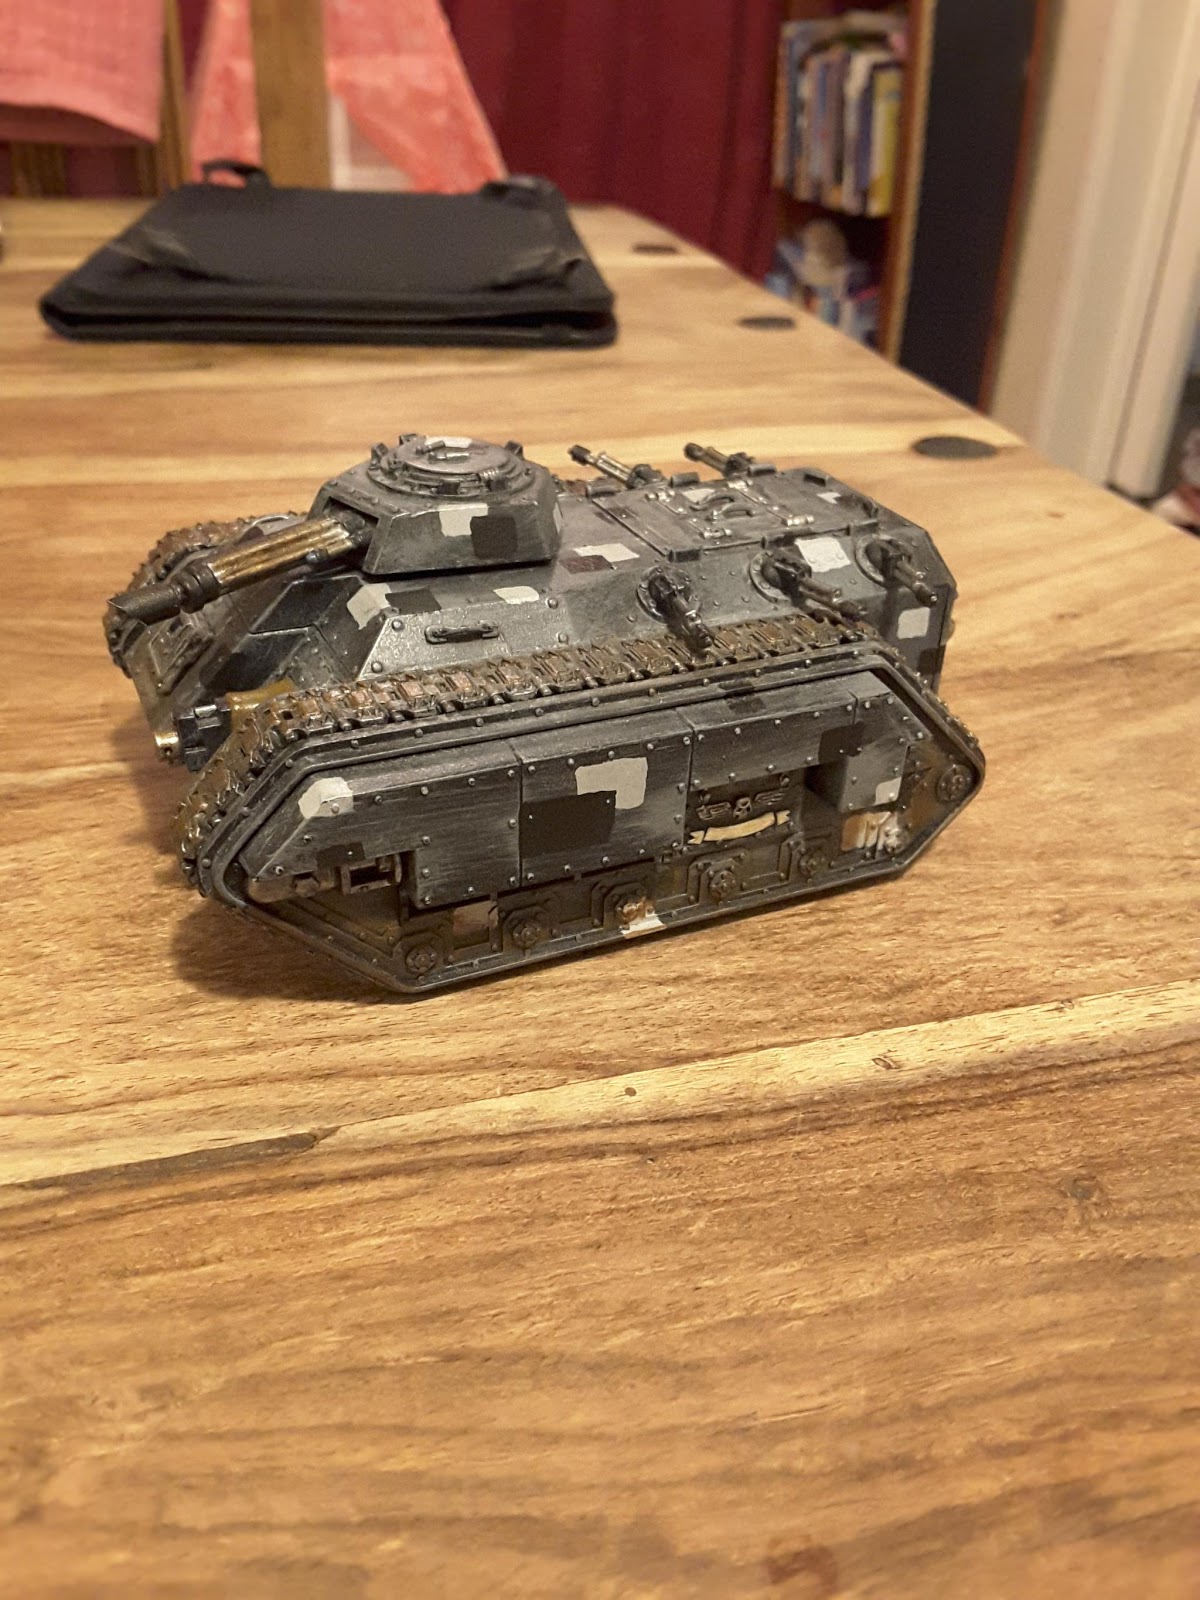
Swedes.

In the centre horse battalia’s from both the Ben’s went piling towards Lord Of The Horse Chris and his many Swedish horse regiments.  A massed brawl erupted immediately, with many charges, counter charges, and casualties on both sides.  On the English, or should I say Scottish, right all was quiet however.  General Nilsson’s Swedish troops in Swanland remained untroubled because the Scottish had, quite clearly, forgotten to turn up.  Nearer the city of Hull the Swedes under Michael began their trudge forwards, ladders tucked under their arms, while ordinance blasted the towers ahead of them.

Lord Chamberlain and Earl Mcflurrys horse on the offensive for the English.

Lord Stanley-Matthews battalia attacking into the Swedish held village of Wesselton.


Wesselton.

The view from Windmill hill.

English garrison on the walls of hull.

Whatever comes through that gate.... 
The first ladders about to be raised at Hull.


Petards!


The Middle Bit
The Ghost Battalia swept over Windmill Hill, and charged into the enemy horse, who were clearly so surprised they fell back – dragoon on dragoon mounted action a rare thing indeed.  Unfortunately, the rest of Red’s English infantry were slower to move up, being distracted by the sight of some cows in a field, obviously inner city regiments who’d never seen such beasts close up before.  They remained close enough to the Swedes on the West side of Wesselton to continue to exchange musketry and ordinance fire across the wagonway.  Lord Stanley-Matthews men continued their implacable advance into Wesselton, pushing back the Swedish pike, and capturing several houses in the Western half of the village.  General Paul could only watch with concern as his men gave ground gradually in the village, and the horse of Lord Chris disintegrated on his left.  


Swanland and Swedes.

That swirling horse melee in the centre continued with the horse regiments of both Bens finally being sent packing by Lord Chris’ significantly bigger Swedish hard nuts.  However, this only opened up the space for Lord Stanley-Matthews horse to charge, and with the damage already done the Swedish horse could take no more and retired from the field.  

The initial English horse charge is exhausted, but Stanley-Matthews horse are about to take over.

Wesselton and the Swedes under pressure.

The ghost battalia of the English army sweeping around Windmill Hill.

On the English…ahem….Scottish right the Scots, under Laid McFlurry (complete with music) finally arrived, brought onto the field the only way it was ever going to happen; by a blunder.  They shook themselves off, accepted an order for the first and last time that day, and charged into the edge of the village of Swanland, assisted by Earl Chamberlains foote regiment and storming party who had been hanging around waiting for such backup to arrive.  General Nilsson, never one to quibble when the fight came to him, left his men to defend their cheval de fries while he dealt with a more pressing issue – with near 35 pieces of ordinance on the battlefield, some double shotted, the Swedes were running out of powder!

No such concerns troubled Earl Michael as his guns continued to pound the Hull city walls to not very much effect.  To one side, furthest from the gate, several units of musketeers already had their ladders up and were exchanging blows with the English musketeers defending the walls, while the English pikemen waited below, watching on anxiously.  Towards the river more musketeer ladder parties had stalled under a galling fire from the towers.  The Swedes trump card was being revealed close to the gate however, as three storming parties had broken cover, petards in hand, and were racing for the gatehouse, the English musketry seemingly powerless to stop them.


Now, who brought the matches? 

Hull from the riverside - note the large building at the end of the wall; the arsenal which the Swedes are striving to capture.

Dragoon on dragoon action around the base of Windmill Hill.

Stanley-Matthews horse sweep away the remains of Lord Chris' men.


The End Of All Things

And so we come to it.  The finally countdown.  The big reveal.  Except the battle had somewhat slowed in places.  Lord Stanley-Matthews had got the better of General Paul in Wesselton, holding 4 houses to the Swedes 3, sufficient to claim he had captured the village, and his horse had driven away the remains of Lord Chris’ men to the East of the village, but was faced with several pike blocks, and had no infantry support to deal with them.  The ghost battalia had a nasty shock, as a new Swedish column arrived on their flank, but fortunately for the English most of the enemy horse failed to arrive in time to make a difference.  A counter charge by some of General Paul’s horse however saw them move up onto Windmill Hill, denying the English control of it.   

The two Ben’s; Laird Mcflurry and Lord Chamberlain, provided a pyrotechnically exclamation mark for the fighting around the village of Swanland when Lord Chamberlains storming party used a petard to blow several cheval de frise, most of a house, a hedgerow, and a number of quite unhappy Swedes, several dozen feet in the air.  Despite this, and the loss of a further number of musketeers, General Nilssons men held firm, assisted, as always, by the Scottish failure to pass any form of command check.  Swanland remained in Swedish hands.

Add caption


With broken battalia few in number the outcome, it seemed, would be decided at the walls of Hull, where the Swedes were struggling to get men to the walls, struggling to get their ladders up against the walls, and struggling to bring down any of the towers.  The initial fight on the walls furthest from the gate was still in the balance as the English defenders gallantly held on, while towards the river the attackers couldn’t sort their feet out and continuous disorder results held them back.  Two large explosions were inbound however – firstly Earl Michaels storming parties went O.T.T and dumped two petards by the gate, which lasted as long as a snowflake in a pizza oven.  Then the corner tower, defending musketeers long since dead or fled, finally collapsed under sustained mortar fire.  First into the ruins of the gate however were the English pikemen, and try as they might the Swedish musketeers couldn’t shift them. 

Night was falling, and teatime wasn’t as far away as it had been, and the Swedish attempt to capture Hull and build a stronghold by the Humber had failed by a whisker.

The gate blows - destroyed by 2 petards, which was a slight overkill but when the Swedes commit to doing a job they really commit.

The ladders never quite made it up under concentrated musket fire from the defenders.


Debating who will be first through the gateway, but the English pike get there first and hold on - just.


On the Northern ramparts the English musketeers are under great pressure, and night comes just in time.


Postscript

The armies drew apart as night fell, and in the morning all that was left of the Swedish forces were some mdf and cold camp fires; they had withdrawn to the North in the night hoping to meet up with their ships and find refuge and possibly aid further afield.  The English, equally battered, and in need of sustenance marched to York to regroup, believing their enemy vanquished.  What will happen when a Scottish-backed and replenished Swedish army emerges from Northumberland, nobody knows.  We may have to wait four more years to find out.

Monday, 7 May 2018

Dreadball - Orx Team

I post infrequently, in fact I post very rarely at all, a situation I blame on work, children, and coaching junior football.  All of which suck up my time and leave me with little energy and enthusiasm for anything else, hence the lack of gaming or modelling - I simply can't find the time or motivation to do any making or painting at the moment.  I have made and spray painted the Orx from the Dreadball set today however, so to keep this blog going somewhat here's a picture....   


I'm now off to eat toast, plan out football training sessions, and sleep. 

That is all.

Sunday, 9 July 2017

Imperial Guard Revamp

With the advent of 8th edition 40k, and the suggestion that this may be a good time to give it another go, I got a few of my (many) imperial guard troops out of storage and began wondering about revamping their image. Most are over the 10 year mark in terms of age of paint job, and I thought I might be able to improve on my previous efforts.

However having liberated them from the dark confines of the box I found I was actually quite happy with the original paint job (a rarity indeed!), and decided to merely experiment a little. A couple of before and after shots are to be found here.  In the case of the bottom (after) picture I have experimented with a bit of repainting and then used the army painter strong tone dip on the three at the front to the left. The rest I've merely flocked the bases of.  I'm not certain the extra paint and the dip were worth doing, the figures don't look that much better (if at all).  The only bit which I definately like about it was the decision to change the edges of the bases from a dark green to a brown. Overall jury's out.


Thursday, 26 January 2017

Wars Of the Roses - Part 4

I'm gradually, very, very slowly, beginning to do a bit of modelling, and the subject of choice is currently the Wars Of The Roses. I started a Yorkist army ages ago in 28mm, and this will form the basis of the army, plus several more boxes of Perry Miniatures troops which I've acquired over the last six months or so. I'm going to base them individually and the use magnets to enable them to rank up into a Hail Caesar force when needed - Luke Taylor would be proud of me!

Currently I'm putting the magnets into the bases, ordering some more bases, and then starting to put together some of the many figures on their grey sprues. I get very little time for hobbying, so we'll see how this turns out. The WOTR is a period that keeps coming back to me when I feel like modelling, plus I've just finished Conn Igguldens fourth book in his WOTR series, and that's helped push my enthusiasm along.  This is Part 4 because it's a continuation of my previous work, although the last post dates back to over two years ago now!

Saturday, 21 January 2017

English Civil War Battle Report - Battle of Marston Moor - 2nd July 1644

Rules, Deployment and Scenery

For those who love their details (I am one) the battlefield was a decent sized 16ft long by 6ft wide, with the figure scale being 28mm.  We played across it, with the deployment matching the historical order of battle – both sides having opted for strong cavalry wings, and the infantry and ordinance in the centre.  For the Royalists the centre was made up of the infantry of Henry Tillier and Sir Francis Mackworth (also commanding Newcastles whitecoated foote), while the right wing of horse was under Lord Byron.  Byron was supported by a forlorn hope of two regiments of foote led by Colonel Thomas Napier, while a dash over to the left wing of horse revealed Lord Goring in charge of horse, dragoons and musketeers.  Facing the Royalist foote were the Allied infantry under Crawford and the Earl of Manchester for the left centre, and Baillie (Scottish) for the right centre.  Cromwell took charge of the left wing of horse (facing Byron), and Sir Thomas Fairfax the right wing facing Goring.  Prince Rupert led the Royalists, while the Earl of Manchester and Alexander Leslie of the Scots led the Allies.

The battlefield was a little sparse for my imagination, and so a village grew on the Allied table edge, a windmill appeared, and a couple of small hills to provide variety.  The ditch that ran across the battlefield only ran across the front of Byrons horse due to lack of ditch scenery.  Both sides deployed their troops, and then the Allied forces, as was the case historically, began the ball using the Pike & Shotte rules.  Victory would nominally be the Allies if they could drive the Royalists from the field, while the Royalists sought to prevent this, and break half of the Allied brigades to split the Alliance in the North.  In an attempt at introducing some fog of war the players had to communicate tactics only through the use of handwritten notes.  This sadly did not really affect the game, but the replies Prince Rupert sent throughout were entertaining enough to include.

Prince Rupert:  “Send for more port!”

Our Players:
For the dashing, brilliant and exciting (Christmas-supporting) pro-royalty party:
Chris Fazey – Prince Rupert (General) & Goering (Royalist horse – left flank)
Dave Astbury – Henry Tillier (Ruperts foote – infantry centre right)
Dennis – Lord Byron & Colonel Thomas Napier (Royalist horse right & 2 foote regiments ‘forlorn hope’)
Rick – Sir Francis Mackworth (Newcastles foote - infantry centre left)

For the dull, boring, drab dressing puritan-supporting and Gaelic speaking party:
Aidan – Earl of Manchester, Crawford, Oliver Cromwell (Parliamentarian General, Allied foote centre left & Allied horse left flank)
Michael – Baillie & Lord Fairfax (Scottish foote – Allied centre right, Parliamentarian foote – Allied centre left reserve)
Paul – Leslie & Sir Thomas Fairfax (Scottish General, & Allied horse right flank)


The full battlefield, with the Royalist left (Goring) facing Fairfax nearest.  Also many of the players - from the far left to right: Paul, Michael, Aidan, Dennis, David and Prince Ruperts orderly Ben.

Fairfax's horse.

The infamous coach of the Earl of Leven.

Sir Thomas Fairfax.


Cromwell's horse.

Prince Rupert's lifeguard.


The Battle

Cromwell Strikes!

And so to battle, and having deployed copious amounts of troops, and taken a fair few pictures using the newfangled device of ye mobile phone, the fighting could begin.  At least it could on the wings.  To the right of the Royalist line Cromwell led his horses forward at a canter, pulling up just short of the ditch.  Lord Byron, eying the enemies superior numbers warily, decided his best bet would be to wait beyond the obstacle in a reversal of the historical actions, only for Cromwells horse to leap across it and drive them back in disarray.  Byron’s men rallied and fought back, and with Colonel Napiers foote regiments causing a bottleneck in this part of the battlefield, and the fighting bogged down as the troopers hacked and slashed from stationary horses.

Prince Rupert to Henry Tillier: “Bring me some village girls and walk the dog”.

Cromwell pushes his horse forwards to the ditch.


The Glory And Fall Of Goring

No such constrictions on space over on the Royalist left, where Lord Goring threw caution to the wind, damned the enemies superior numbers and charged, charged, charged!   Sir Thomas Fairfax’s horse came forward to meet him, and there was more than enough room for a swirling horse melee or six to occur on that side of the field as Royalist and Allied horse regiments charged, counter-charged, and withdrew to charge again.  Fairfax was unable to bring the full weight of his numbers to bear, and Goring’s men managed to clatter into the flank of a number of the enemy horse, giving the cavaliers the edge, and driving the first of two Allied horse battalia on that flank back and off the battlefield.  The second of Fairfax’s battalia soon moved in to try and return the favour however, and they would eventually triumph, with Goring’s horse scattered, but not before they had been dealt enough of a blow to remove them from any further fighting for the day.

Sir Francis Mackworth to Prince Rupert: “Going to advance into the hedgerows.  Mackworth.”
Prince Rupert: “That is obvious – do not bother me with trivialities”. 


Fairfax and Goring clash.

Sir Francis Mackworth's letter writing division.

Mackworths' foote advances into the hedgerows.

Scottish foote and ordinance.


Lord Byron counter attacks Cromwell.


Fairfax's second wave before its rough handling by Goring.

The Allied Foote Advance

In the centre the Allied foote, with its superior numbers of men, pike, muskets and ordinance, was ordered forwards, only for the Scottish foote to blundered horribly, and head backwards with cries of ‘Home! Home! Home!’  A second consecutive blunder order nearly finished the job, but instead sent the Flodden grey wave moving forwards instead.  Sir Francis Mackworth had moved his Royalist foote into the hedgerows in front of his position on the left-centre of Ruperts line, and began trading fire with the advancing Scots, while to his right Henry Tilliers foote held their position within the hedgerows and did the same to Manchester and Lord Fairfax’s infantry.  The Allies swiftly tired of this, particularly when a rainstorm (special rules card) dampened their spirits, and did the same to their powder, and once they were close enough they charged in to contest the hedgerows at the end of a pike! 

Prince Rupert to Sir Francis Mackworth: “ Dear Grunt, weather report required – does this darned drizzle benefit them or us?  I have an experiment with seaweed going on”
Sir Francis: “Benefits them more at this time.  Battered seaweed sounds good for lunch. Mackworth”
Prince Rupert: “Idiot”.


Parliamentarian infantry moving up.

The Push Of Pike

Initially this push of pike went well for the hedgerows defenders, but the Allies were now bringing up their ordinance to fire at close range, and their numbers began to tell.  One of the Allied brigades under Baillie broke, but it was soon replaced by more Scottish infantry moving up from behind.  Goring’s remaining troops; musketeers and dragoons, put up a sterling resistance on the left of Sir Francis Mackworths foote, but they broke at the same time as the Allied dragoons, and the remnants of the Royalist left was gone.  Sir Francis Mackworth tried to extract his foote from the hedgerows where they were now in danger of being outflanked and overwhelmed by the Scottish infantry, but with the enemy pressing hard only the whitecoats of Newcastles foote managed to disengage and make it back successfully to the protection of the walled enclosure behind the lines.  The remains of Mackworths foote gradually fell to pieces under the sustained pressure from the front and to his left.  Henry Tilliers men faired little better, as the wave of Allied infantry kept coming, and he now had an even more dangerous threat to his right.

Sir Francis Mackworth to Prince Rupert: “Pulling back Newcastle’s foote to the walled enclosure to fulfil historical last stand obligations.  Earl of Leven ran your dog over with his coach.  He wouldn’t say sorry”.
Prince Rupert to Oliver Cromwell (following the latter’s unrecorded dog-related taunt): “Dear Cromwell, I hope your hamster chokes on its feed.  A curse on ye!  L. R. xxx”

Newcastle's whitecoats see the way the winds blowing, and head for a defensible walled position.


Push of pike!
Prince Rupert's ADC is not amused about how the battle is going for the Royalists.

Henry Tillier.
The centre of the battlefield, seen from the Royalist side, with Mackworth's foote to the left, and Tilliers to the right.

Prince Rupert lamenting the loss of his dog!

Royalist infantry under Henry Tillier under heavy pressure.


Mackworth tries to extract his foote from the Scottish attacks, but fails.


The Allied Horse Break Free

Lord Byron’s horse had broken.  Forced back and decimated by Cromwell’s disciplined charges the Royalist horse couldn’t stand, and Napiers forlorn hope was being hit from the side and front by Allied foote began falling back only to turn into a rout and vanish altogether, leaving Cromwell free to attack Tilliers right flank just as holes began to appear in his centre, and his men began to flee the field in great numbers.

A quick assessment of the battlefield showed that the Royalist cause was lost – both wings of horse were gone, Mackworths infantry were making heroic delaying last stands, and Tillier was losing men aplenty and about to be rolled up by Cromwells marauding horse.  The Allies had followed history and won the battle!


Cromwell's troops, having disposed of Byron, pile into Tilliers flank.


The end is nigh.

Post-Battle Analysis

A quick word here because the battle is now several weeks ago, and details fade, but overall the scenario worked how I thought it would.  The Royalists were always up against it due to the Allied forces numerical superiority, but then it was 28,000 to 18,000 men in the actual event.  Forced on the defensive, apart from Goring, they gave a good account of themselves, with Goring decimating the stronger horse wing of Fairfax for the loss of his own battalia’s, while Cromwell eventually wore down Byron, and followed history to turning inwards to attack the infantry of Tiller.  The Royalist infantry, under heavy pressure from the front already had gaps a plenty in their ranks, and wouldn’t have survived the horse attacks. 


A clear Allied victory!